Supplies:
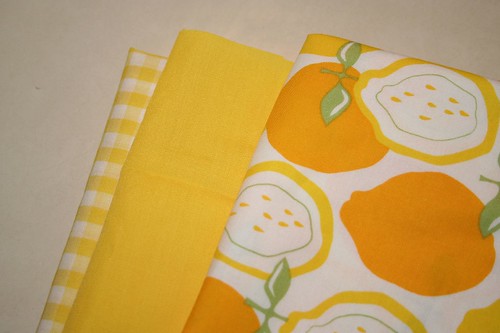
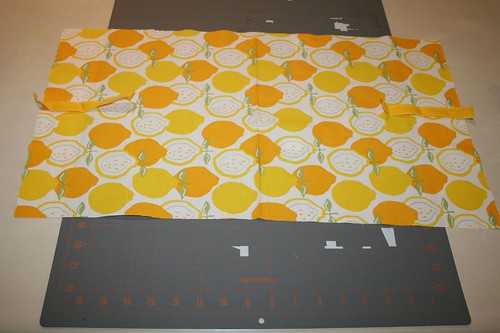
- Two pieces of cotton fabric cut 13″ x 12″
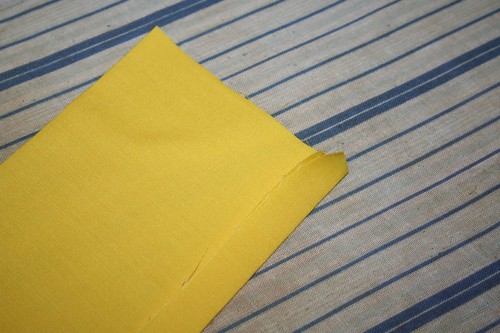
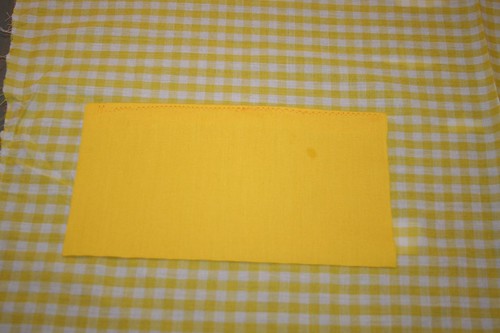
- One pocket piece of cotton fabric cut 8″ x 5″
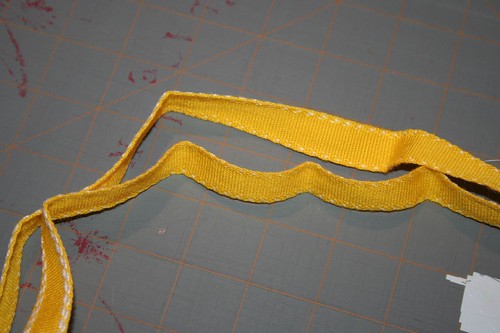
- Two pieces of ribbon, 6″ long, width of your preference
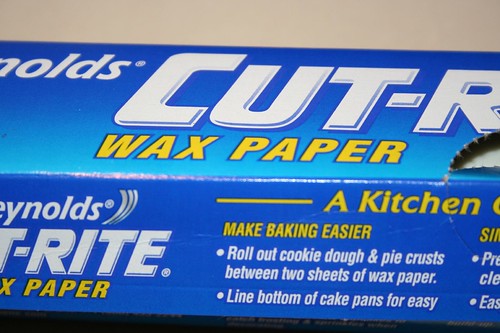
- Wax paper
- Stickers!
Directions:
1. Cut your book front fabric and inside fabric to 13″ x 12″. Iron these pieces in half width-wise, creating a stiff center crease.
2. Cut your inside pocket piece to 8″ x 5″
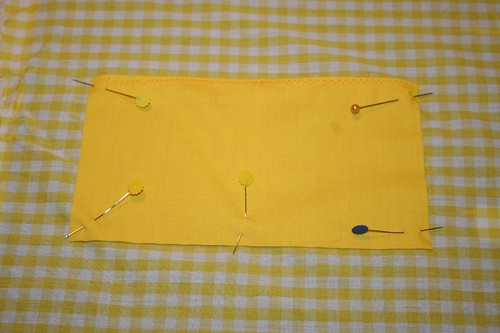
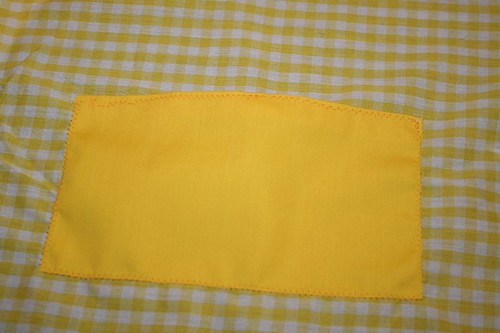
3. Turn the top edge of your pocket under, iron. Run a zigzag stitch along this edge.
4. Place the pocket in the center of your inside lining. You can sew the pocket on either side of the lining. I sewed mine on the front lining.
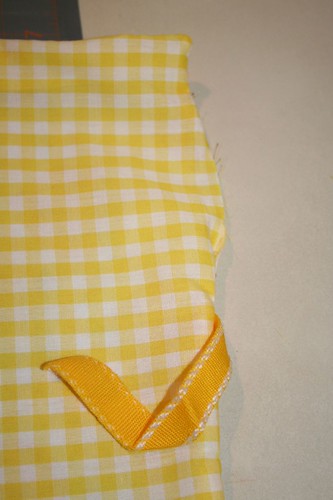
5. With the pocket attached, now you can select to add any embellishments (such as a bias-tape stenciled name). Or, you can keep it simple, as I am doing on this example. Place the front panel right side up. Place either piece of ribbon — cut 6″ long — with 1/2 an inch over the edge. These pieces of ribbon will serve as your ties for the book. Center these and then place the lining (with the pocket attached) right side down, sandwiching the ribbons.
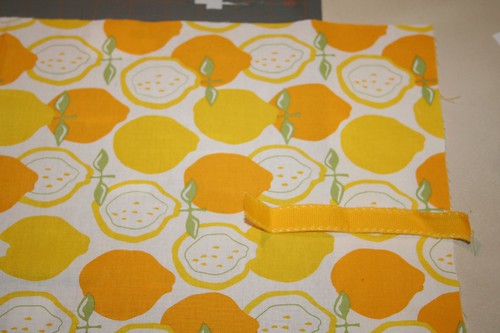
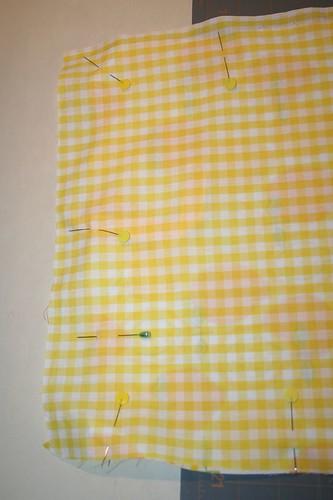
6. Pin these pieces right side together, with just 1/2 inch of ribbon visible. Leave a 4″ gap between your beginning and stop points. You’ll later use this gap to turn the book right side out. Sew a 1/2 inch seam around each of the edges, make sure to leave the gap. Backstitch over your ribbon to make sure the are secured.
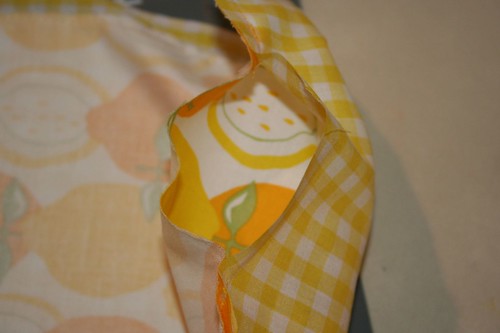
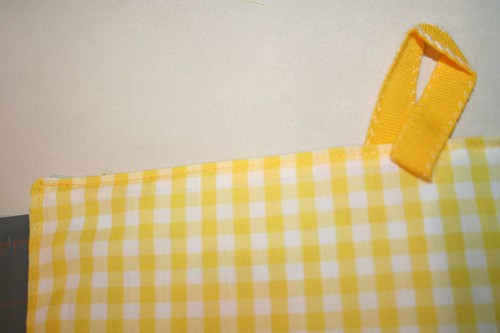
7. Trim your corners and any extra fabric. Turn right side out.
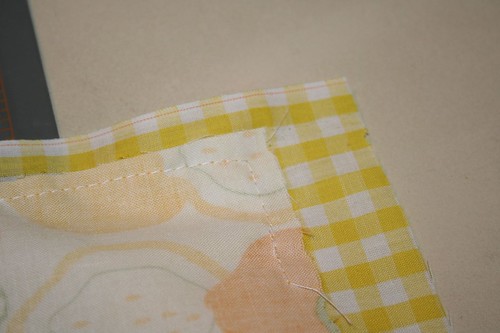
8. Iron and make sure to turn under the gap hems. Sew the gap closed with a 1/4 inch seam and continue around the edge of all four sides, adding a nice top stitch.
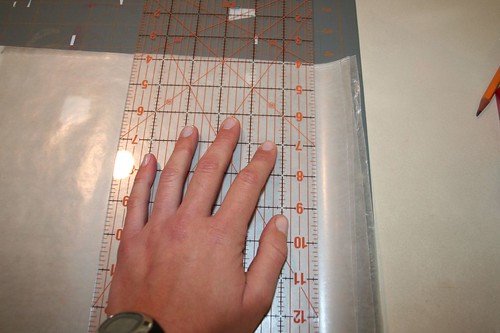
9. Trim your wax paper to fit the book; the easiest way to do this is to cut your wax pages the same length of the book (13″). I use 5 of these wax sheets.

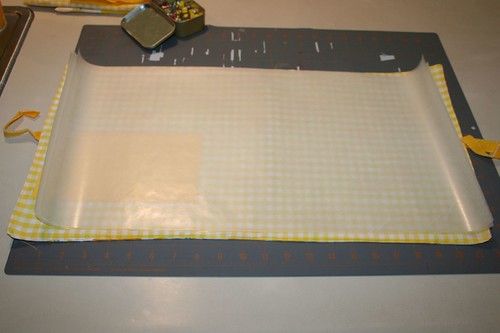
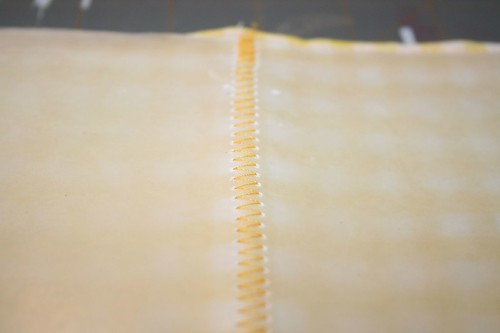
10. Pin the wax sheets in place. Run a tight zigzag stitch from the top to the bottom of the book, down the center of the wax sheet. This is making your book’s crease. Backstitch several times at both the beginning and the end.
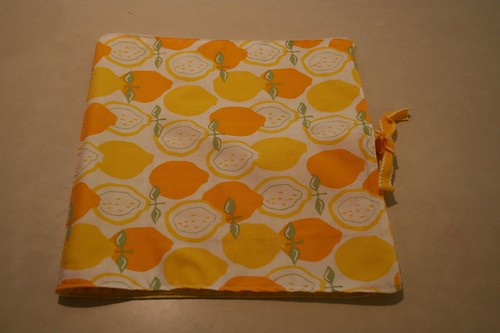
11. Fold in half, fill with stickers. Voila! A fabulous and inexpensive gift for any child.
One more thing you might want to consider: I just gave this book to a 3-year-old who was VERY excited to play with the stickers. In the process, the wax pages were pretty beaten up. It might make sense for younger children to attach your wax paper to a piece of card stock first and then sew them into the book to make the pages a bit more sturdy.
My favorite stickers, for the record, were the ones you got after seeing the dentist. Not only were they huge, but they also symbolized not having to go back to the dentist for quite a while.
~K