I was getting a pedicure this afternoon, reading the July issue of In Style when a quote jumped out at me:
“Life without love is like a year without summer.” — Swedish proverb
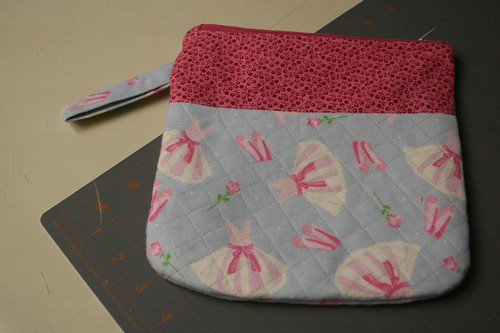
So, let’s add a little love, shall we? Because God knows summer is here in full force. What better way to rock both love and a great summer than with a fun new tiny camera and a great quilted case to protect it? Think wristlet, but with a flannel fabric you are going to quilt yourself. And who doesn’t have a tiny digital camera at the bottom of her purse that gets banged around? Well, technically I don’t. But that’s because I carry my giant camera most places. But I know MANY of you do. Time to protect the camera baby with a pretty new little case.
Come on.
No excuses.
The same goes for all of my sewing projects. If I can do this, without a doubt, so can a trained monkey. So don’t tell me you can’t.
Prep: Get a fat quarter of flannel, a fat quarter of your B fabric , a fat quarter of quilt batting, and a pretty coordinating zipper, at least 8″.
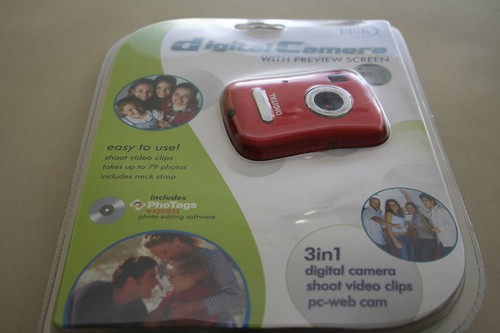
First, buy a digital camera. In this case, an inexpensive camera perfect for a novice photographer.
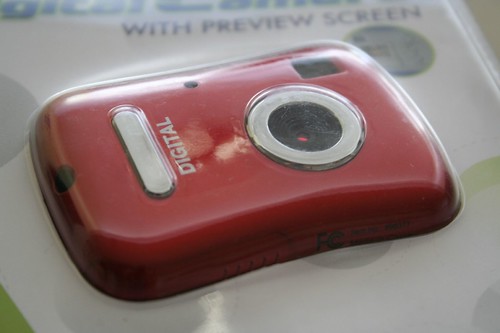
Ladybug red.
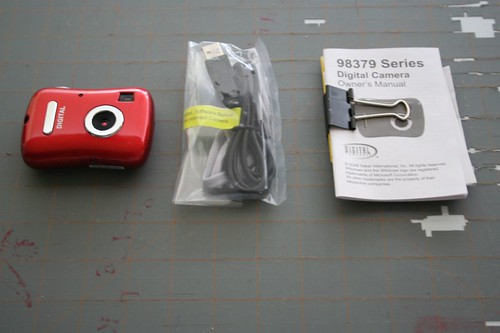
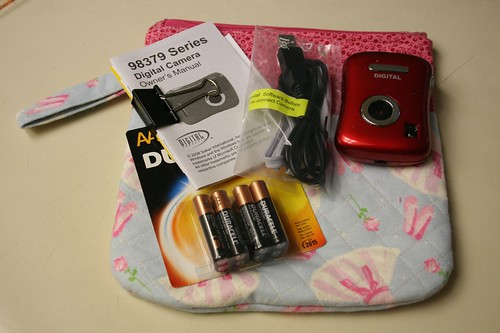
Take the camera out of the packaging and arrange things nicely so they can be tucked into your finished case.
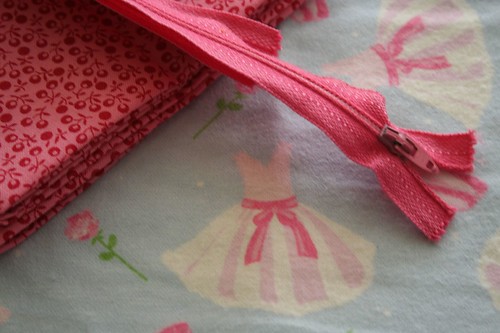
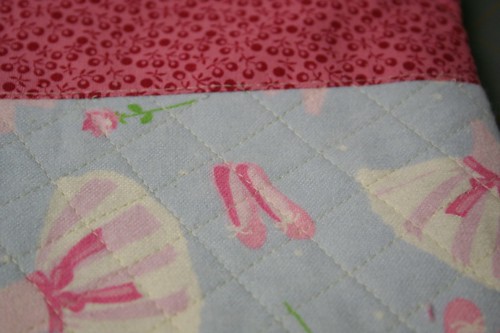
Get your supplies ready. Ballerina flannel? Check. Additional pretty pink fabric? Check. Zipper. Triple check.
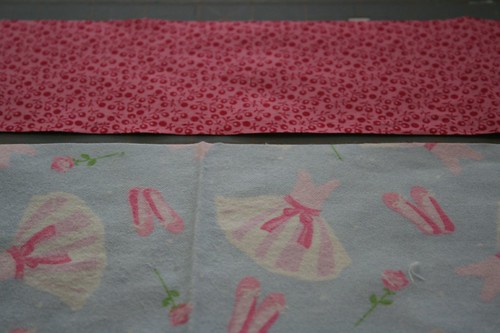
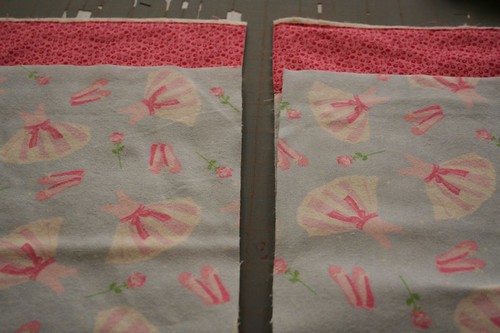
So, I made this case with measurements to fit the camera, the accessories and a giant pack of batteries. Your case may need to be bigger or smaller depending on what you want to carry. This case is 10″ tall x 9″ wide, finished. I cut 1 piece of flannel 18″ in length by 7″ in height. I then cut my B fabric (pink in this case), 18″ in length by 3″ wide.
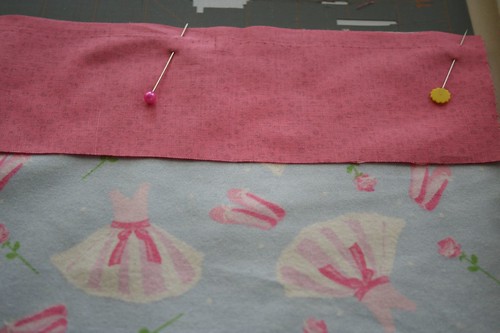
Right sides together, pin fabric A (ballerina) and fabric B (pink) together. Sew a 1/4″ seam along the top.
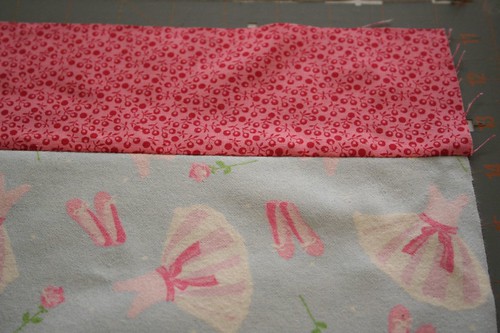
Press the seam flat.
Pin 18″ in width x 10″ in height of quilt batting to the back side of the joined fabrics.
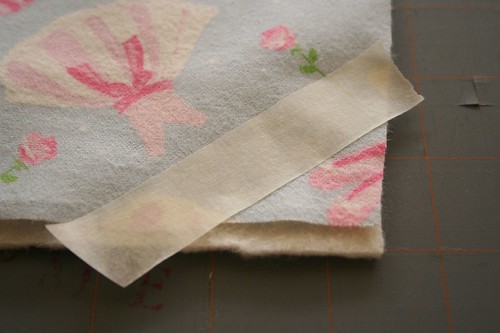
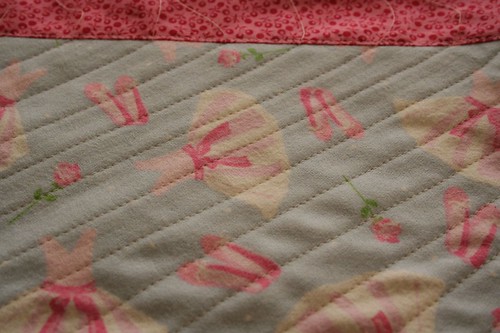
Using 1″ freezer tape as a guide, carefully quilt 1″ lines going one direction on the fabric. (The tape will pull at the flannel if you aren’t careful. You may just want to eyeball this.)
Voila.
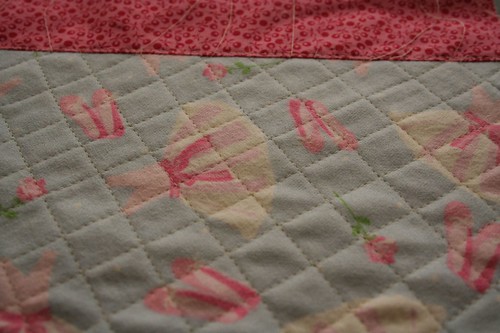
Then use the same piece of tape to measure the lines going the other direction. The result is a beautiful piece of quilted flannel. I did NOT quilt the pink fabric. This is a matter of aesthetics. Your choice, your style.
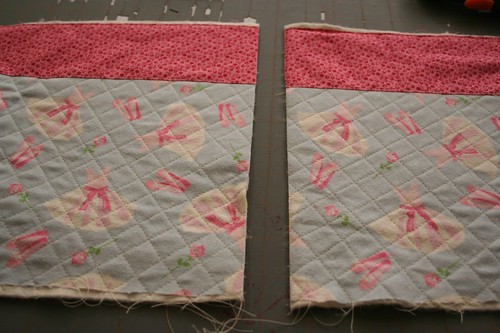
Then, cut the 18″ quilted piece in two. You now have your front and back pieces of your quilted camera case.
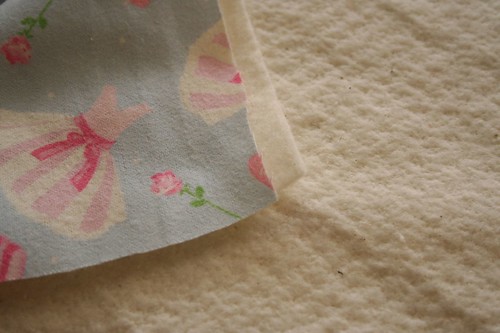
Now cut two more pieces of flannel. These are your linings. Cut each 9″ wide x 10″ tall.
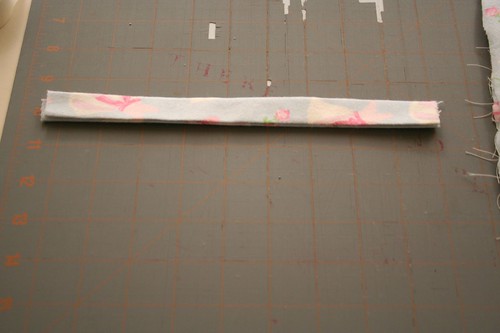
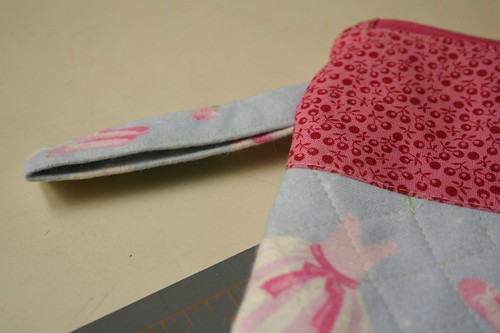
Additionally, if you’d like a handle for your quilted camera case, cut one piece of flannel 4″ wide by 10″ long. Then iron in half length wise. Fold over, tucking all raw edges inside. Sew as close to all four sides as possible, closing in the the long raw edge.
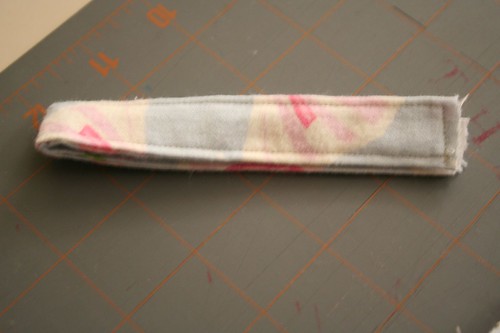
Voila. Iron in half.
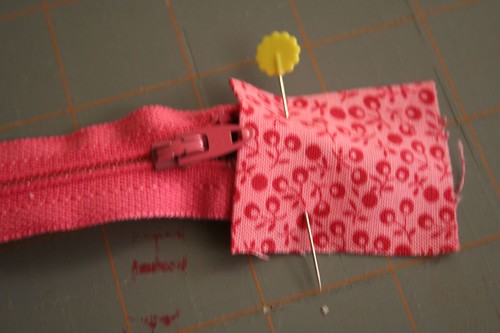
Blurry pic. Sorry. Take two pieces 2″ x 2″ of fabric B. Fold under one edge with your iron. Then pin to the edge of your zipper. Sew carefully along the tucked under edge. This allows you to create the exact size zipper you’d like. Once you have sewn both pieces of fabric (after measuring how long you need your zipper. In this case, we need one at least 9″ long), you can cut off the remaining part of the zipper.
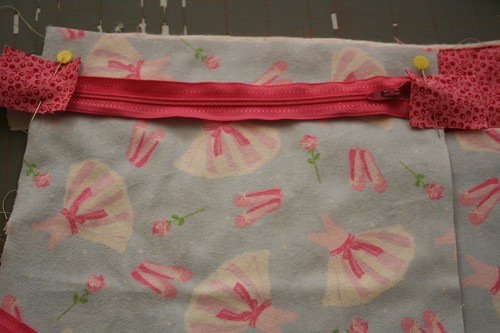
Sew fabric B to zipper after measuring.
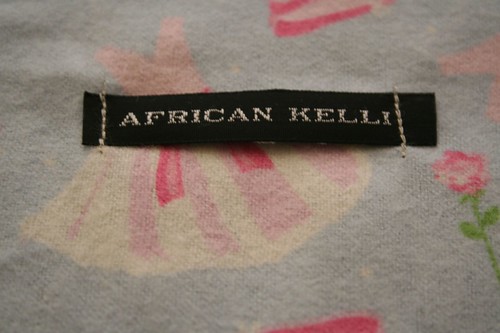
Don’t forget to be ridiculously egotistical and add your label to your lining piece too.
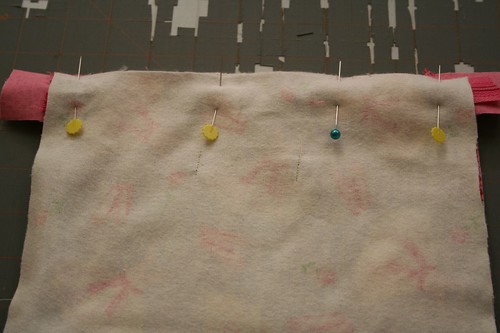
Then make your zipper sandwich. Place one front piece right side up. Line up the zipper edge on the top edge of your front piece. Then place your lining piece right side down on top of the zipper and front piece edges. Pin through all three. Sew with your zipper foot connecting your front piece to your lining piece #1.
Rinse and repeat for the other side of the zipper. If zippers freak you out, check out this prior tutorial for help. Also, this tutorial will walk you through connecting the front and lining pieces and attaching the handle.
Voila. Yes, that’s the third voila. I’m feeling very French.
Oui oui!
C’est bon, non?
Fill with accessories, wrap with pretty tissue, gift with pleasure.
Email me if you have questions. Hope you enjoy your quilted camera case!
~K