Namaste bag tutorial
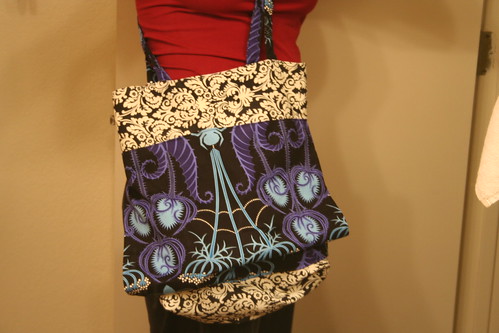
Okay, 25 projects and I’m done! I realize this one is a double-post, but you asked for a tutorial. The Namaste Yoga bag:
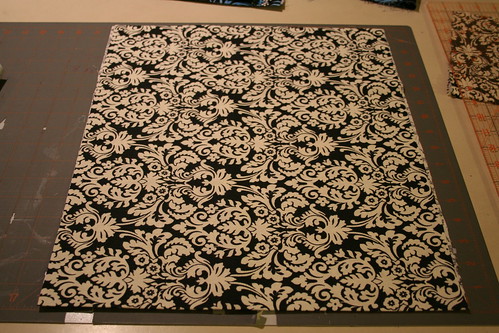
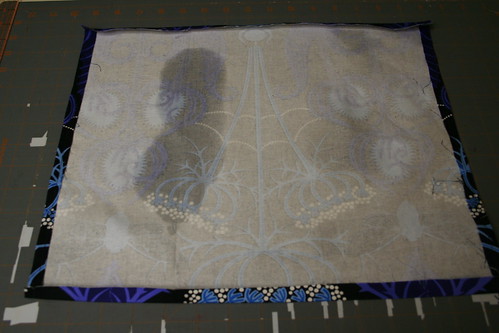
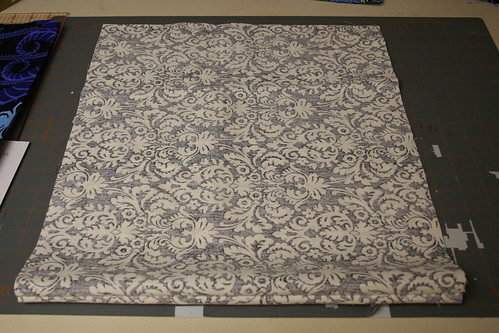
Cut your exterior (above) and interior pieces 15″ wide by 17″ tall.
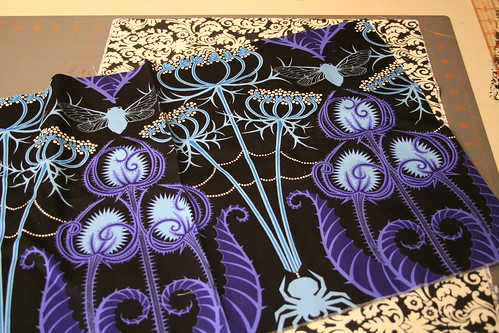
For the exterior yoga mat pocket, cut a piece of fabric 12″ x 10 ” (this piece pictured is too big, as you’ll see. This is a live and learn tutorial.)
With the yoga pocket, iron under the 10″ (tall) edges by 1/4″ and top stitch.
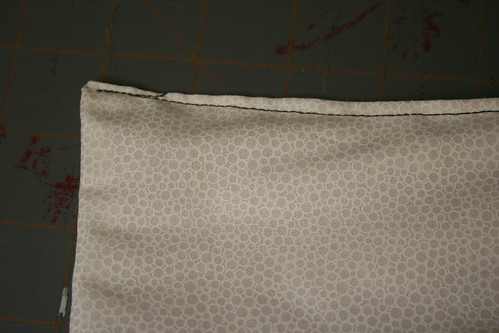
Then iron under the 12″ top and bottom. Set aside.
Turn your exterior piece right sides together and sew 1/4″ seam along both edges and across the bottom. Set aside.
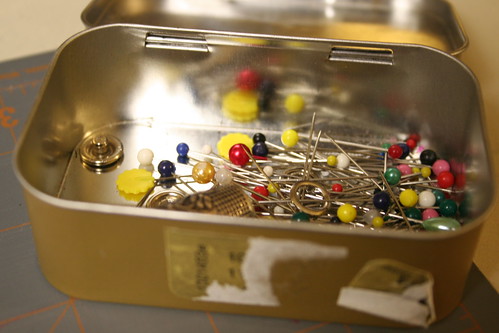
Random photo of a European candy tin I use for pins. I love these.
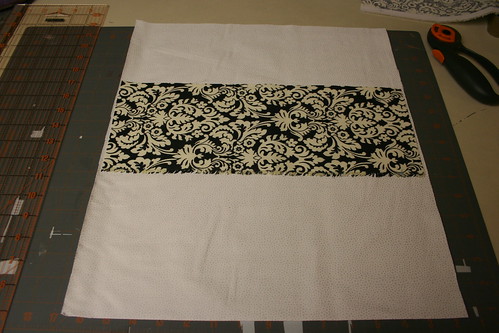
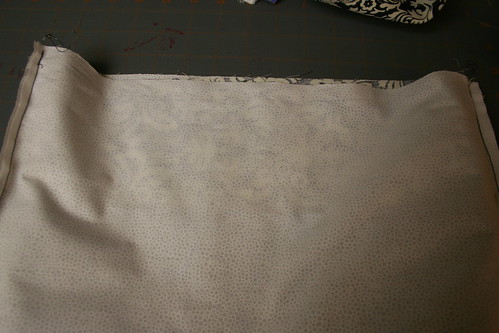
Cut an interior pocket piece 15″ wide x 5.5″ tall. Iron under top edge by 1/4″. Top stitch. Place it as desired on one side of your interior fabric.
Pin the pocket down.

Add a fancy label if you’d like. (I buy my labels here. Yes, they are pricey. They are also fabulous!)
Topstitch along both edges and the bottom.
I also like to add a stitch up the center of the pocket to create a division. These smaller pockets seem to hold keys, cell phones, etc., better.

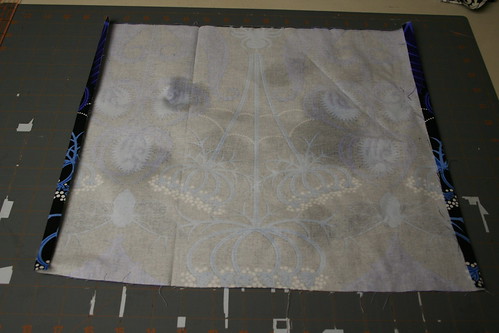
Now, turn your interior pieces right sides together and stitch down both edges and across the bottom. HOWEVER: leave a 3″ hole in your stitching across the bottom. This is how you’ll eventually turn the bag right-side out. Set aside.
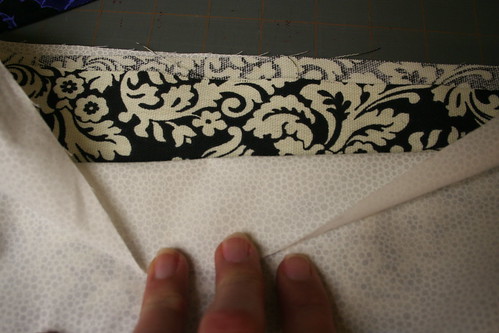
Back to that exterior — to create a bag that looks a bit more structured, we are going to sew and trim these corners. I forget what this is officially called in sewing lingo, but I think it is something like a gusset.

See that seam running down the center? That is actually the seam from the bottom of the bag. Take your first corner and make a triangle with this seam running down the center. This seems (seams?) difficult, but it is very easy. Just try it.

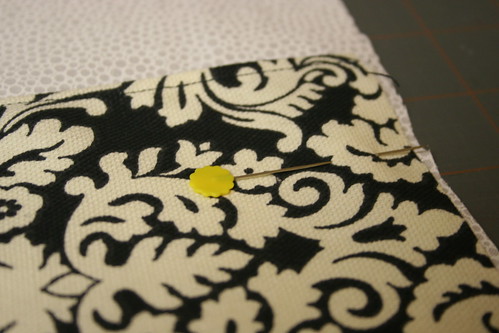
See? Not hard. Now, measure 3 inches in from the point and place a pin to mark where you will sew.

Sew along the pinned line being sure to backstitch at each end.
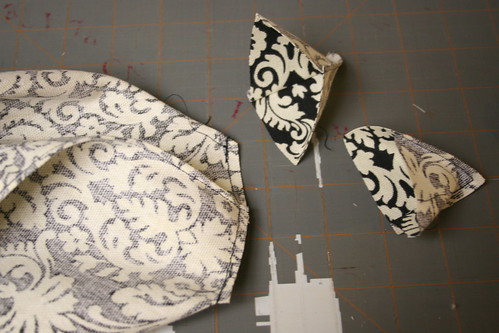
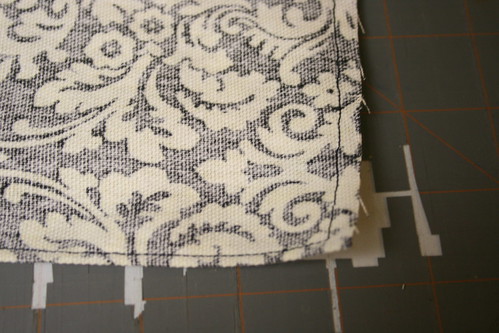
Then chop off the ends, leaving a 1/4″ seam.
Turn the exterior right-side out and voila — trimmed, structured corners to the bottom of the bag.
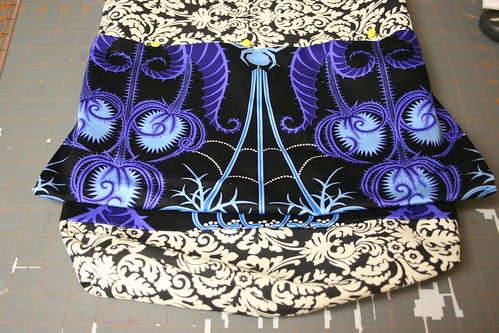
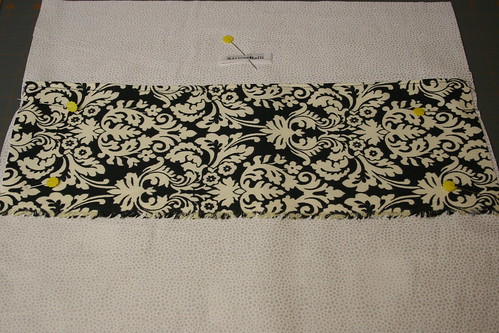
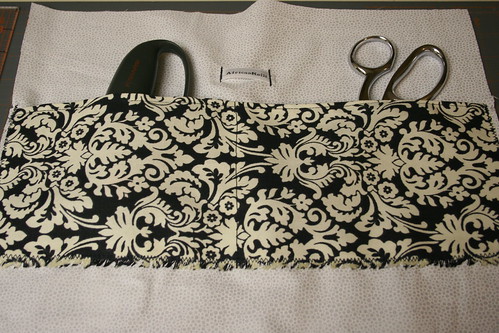
Now, about that yoga mat pocket. Obviously this pocket is too big, but the dimensions above are a better fit. Place the top edge of the yoga pocket 12″ from the bottom seam of the bag. You want to create a significant flap in the pocket to allow space for the mat or towel when in place.
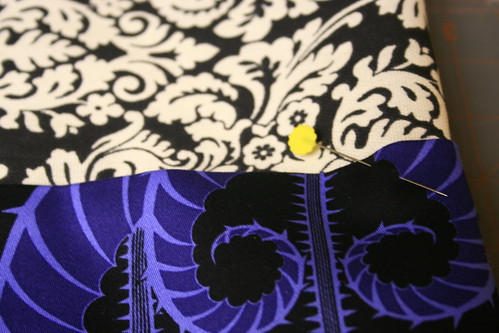
Pin this top edge of the pocket 12″ up from the bottom of the bag and top stitch to the front of the bag. (Be sure not to stitch through both layers.) Now take the bottom edge of the pocket and pin it 5″ from the bottom. Top stitch. Set aside.
On to the handles. There are two options. If you’d like the bag to be cross-body, as pictured, cut two pieces 3″ wide by 45″ long. If you’d like a shoulder bag, follow the same directions but cut your straps 5″ wide by 25″ long.
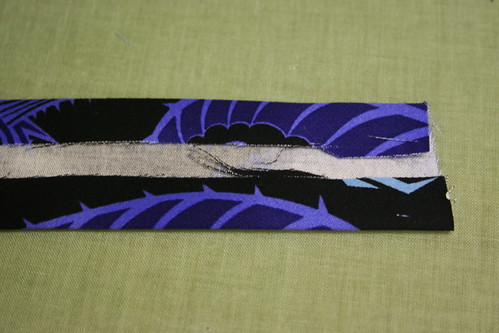
Iron each strap in half, right-sides together. Then uncrease and fold each half toward the center, as pictured above.

The fold the strap in half again, enclosing all raw edges. Pin these and topstitch along each edge, all the way down the straps.
Now place the exterior inside the interior bag, right sides together.
It seems weird, but I promise this works.
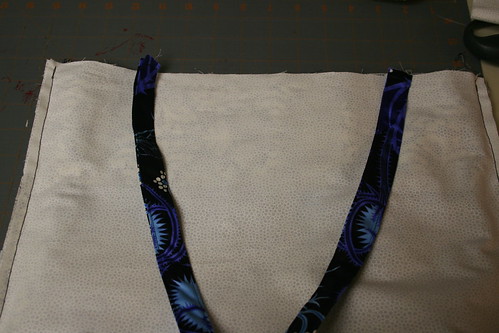
Lay your completed straps out and fold them in half. Be careful to make sure the strap isn’t twisted and pin the top edge of each strap between the layers of the bag, on each side. (This step isn’t photographed.)
If you think of this as a sandwich from the cutting mat up, it would go: interior, strap inside, exterior, exterior, strap inside, interior. Leave an inch or so of strap poking above the layers and sew around the top of the bag enclosing them. Trim the remaining strap that is poking between layers. Then pull the bag through the opening you left at the bottom edge of the interior. Press flat.
Then top stitch that bottom edge of the interior closed.

Press the bag and pat yourself on the back. Namaste!
This bag looks to have a saggy butt. It must need to do more yoga.
~K